Conquering Linux
Robin McCorkell
2017-01-25
Getting Started
Make sure you have:
- VirtualBox installed
- Arch Linux ISO downloaded
- A few slices of pizza next to you :)
Conquering Linux
What do those shiny GUIs hide from us?
We are going to:
- Set up a virtual machine
- Boot into the Arch Linux ISO
- Install Arch Linux
- ???
- Profit
Setting up a VM
Virtual Machines
For those unfamiliar, a VM is:
- A way to run other OSes on your machine
- A way to segregate resources
- A place to break things with no consequences
Create the VM
- Type: Linux, Arch Linux (64-bit)
- RAM: 1024MB is fine, more if you can spare
- Storage: Dynamically allocated, 8GB
- In settings:
- System -> Motherboard -> Enable EFI (important!)
Booting into the Arch ISO
- Click on the VM, press Start
- Select start-up disk: find your downloaded ISO
- Wait a bit (eat pizza?)
root@archiso ~ #
The Fun™ Begins
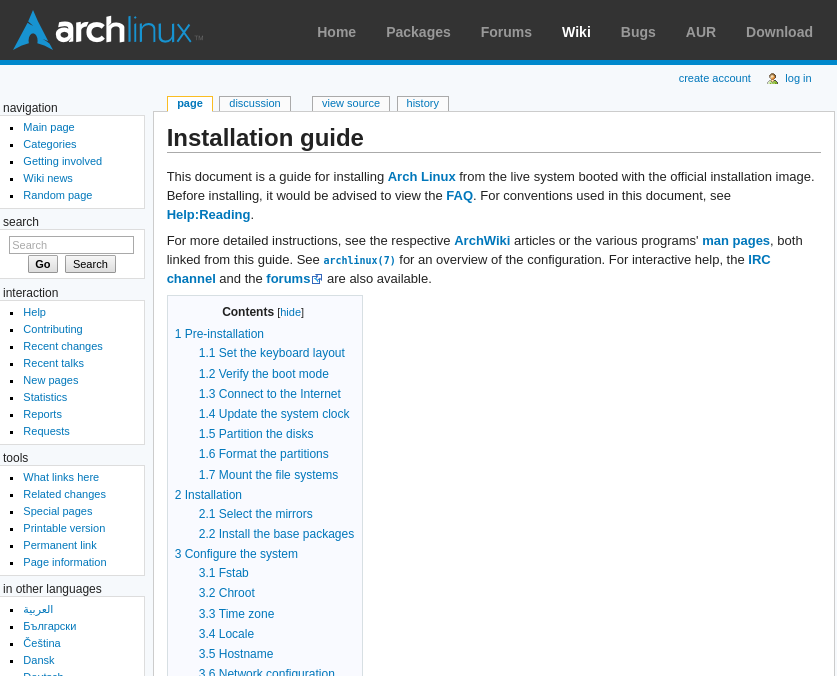
For more details, check out the Arch Wiki - Installation guide

Step 1: Keyboard
Default is a US QWERTY layout
For UK keyboards:
$ loadkeys ukStep 2: Internet
Installation needs an internet connection, let's test it
$ ping 8.8.8.8
Step 3: Storage
Device files
Hard drives, SSDs, USB drives etc. are usually /dev/sdX
Our HDD is on /dev/sda
Partitions exist as /dev/sdXN, e.g. /dev/sda1, /dev/sda2 etc.
Partitioning
$ cgdisk /dev/sda- Start 2048 (default), end 256M, type
ef00 - (under partition 1): use all defaults (100% size, Linux partition)

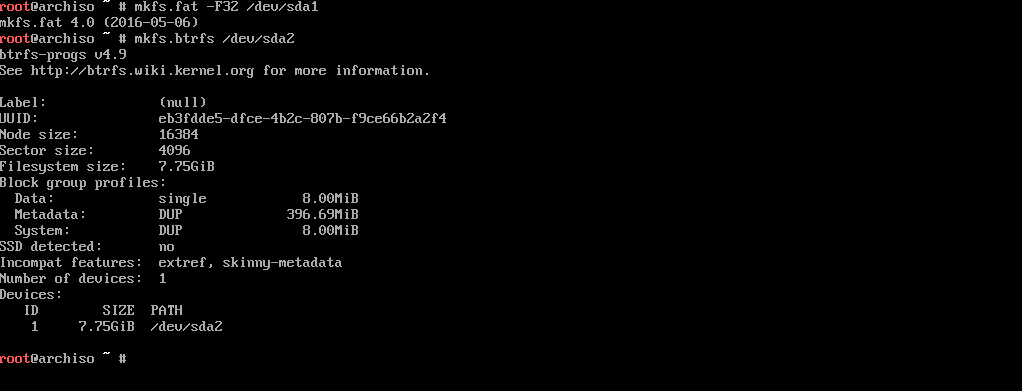
Formatting
$ mkfs.fat -F32 /dev/sda1
$ mkfs.btrfs /dev/sda2
Mount the partitions
For installation, mount everything under /mnt
/dev/sda2 will be the root filesystem:
$ mount /dev/sda2 /mnt/dev/sda1 will become /boot:
$ mkdir /mnt/boot
$ mount /dev/sda1 /mnt/boot
Step 4: Installation
Copy files
Do the install:
$ pacstrap /mnt baseGenerate /etc/fstab:
$ genfstab -U /mnt >> /mnt/etc/fstabStep 5: Configuration
Chroot into new system
/mnt now has a ready system, switch to it:
$ arch-chroot /mnt
Passwords
Set root password:
$ passwd
Locales
Edit /etc/locale.gen and uncomment desired locales: probably en_GB.UTF-8 UTF-8.
Generate locales:
$ locale-gen
System language
Set the default locale in /etc/locale.conf (create it):
LANG=en_GB.UTF-8Timezone
Set the system timezone with the /etc/localtime symlink
$ ln -sf /usr/share/zoneinfo/Europe/London /etc/localtimeConsole keymap
Set the keymap permanently in /etc/vconsole.conf:
KEYMAP=ukNetworking
Create /etc/systemd/network/enp0s3.network:
[Match]
Name=enp0s3
[Network]
DHCP=yes
Enable required services to run on boot:
$ systemctl enable systemd-networkd systemd-resolvedBootloader
$ bootctl --path=/boot install
$ cp /usr/share/systemd/bootctl/arch.conf /boot/loader/entries/
$ cp /usr/share/systemd/bootctl/loader.conf /boot/loader/
Edit /boot/loader/entries/arch.conf:
title Arch Linux
linux /vmlinuz-linux
initrd /initramfs-linux.img
options root=/dev/sda2 rw
Now exit the chroot:
$ exitCreate a final symlink needed for networking:
$ ln -sf /usr/lib/systemd/resolv.conf /mnt/etc/resolv.confUnmount partitions:
$ umount -R /mntReboot!
Step 6: Boot
Username is root

Test the system
$ ping 8.8.8.8
$ ping google.com
Achievement Complete
Where can you go from here?
- Install a GUI (xfce4, kde, gnome3, ...)
- Run a web server
- Set up network attached storage
- Take over the world
- Turn a Raspberry Pi into a media system