Deploy From Gradle
SpongeGradle makes it easy for plugin developers to deploy new versions of their plugin directly to Ore without even needing to open a browser. Once you have created a project on Ore and have published at least one version of your plugin, you can begin to deploy new versions of your plugin from your build script.
Tip
For more info on how to get started with Gradle and Sponge, check out Setting Up Gradle.
Configuring The Signing Plugin
Like all Ore uploads, the artifacts you publish from Gradle must be signed with the PGP private key that corresponds to
the public key you’ve added to your account in Publishing Your Plugin. Luckily, this is easily accomplished with Gradle as
it comes with a core-plugin that does just this. In order to use the oreDeploy task in Gradle, you must
configure the signing plugin as it depends on this specific plugin.
For more information on how to configure the signing plugin, please refer to the Gradle User Guide entry: The Signing Plugin.
The signing plugin requires the following configuration options:
signing.keyIdsigning.passwordsigning.secretKeyRingFile
Following best practice, you should put this in your gradle.properties file inside your GRADLE_USER_HOME folder
(which is your HOME folder unless configured otherwise). Do NOT define them in your project’s
gradle.properties file or any other resource you upload (to git).
signing.keyId=1235ADEF
signing.password=secret
signing.secretKeyRingFile=/home/me/.gnupg/secring.gpg
As an alternative you can supply them via command line parameters like this
-Psigning.keyId=<KEY ID> -Psigning.password=<Password> -Psigning.secretKeyRingFile=<Secring.gpg>.
Deployment Credentials
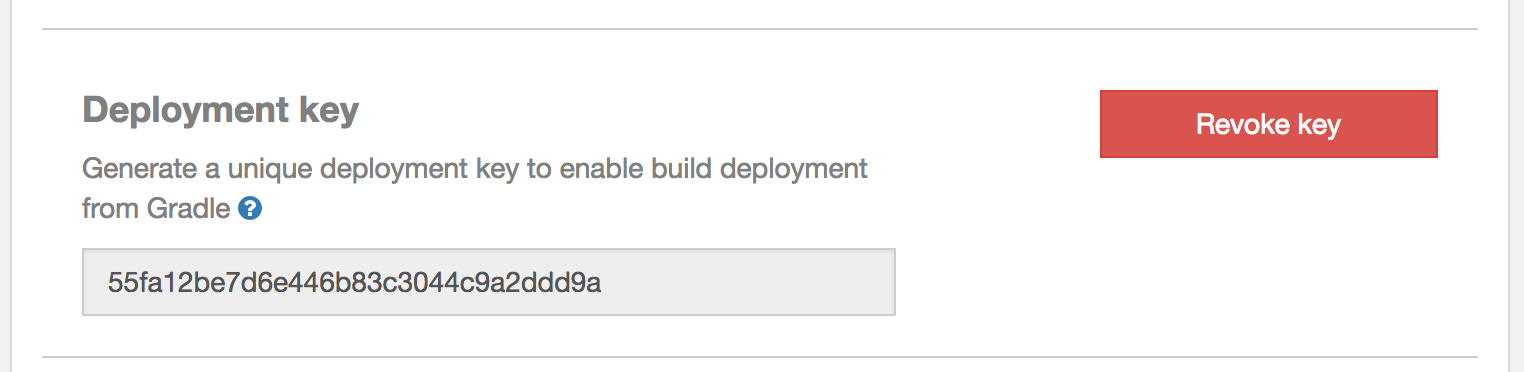
The first step in enabling direct deployment is generating a deployment key to let Gradle publish to your project remotely. You can do this by navigating to your project settings, scrolling down to “Deployment key” and clicking “Generate key”.
Warning
Anyone with access to your special deployment key will have the ability to attempt to publish new versions to your project. Of course, they will also need your private PGP key to do so but still… Keep it secret, keep it safe!
This deployment key must be supplied as the value of the property oreDeploy.apiKey.
Following best practice, you should put this in your gradle.properties file inside your GRADLE_USER_HOME folder
(which is your HOME folder unless configured otherwise). Do NOT define them in your project’s
gradle.properties file or any other resource you upload (to git).
oreDeploy.apiKey=8c115d0c9b9e425281d870e329dd6741
As an alternative you can supply them via command line parameters like this
-PoreDeploy.apiKey=8c115d0c9b9e425281d870e329dd6741.
Deployment Configuration
In order to start using the oreDeploy task, you must configure which release channel you would like publish the
artifact to and you might want to specify whether it should be marked as “recommended” or not.
oreDeploy {
  channel = 'release'
  recommended = false // default true
}
Deploying Artifacts
If you’ve made it this far you’re now ready to start publishing directly to Ore! Simply run gradle oreDeploy.
Example output:
> gradle oreDeploy
:generateMetadata
:compileJava
Note: Reading extra plugin metadata from [...]/build/tmp/generateMetadata/mcmod.info
Note: Writing plugin metadata to [...]/generateMetadata/mcmod.info
:processResources UP-TO-DATE
:classes
:jar UP-TO-DATE
:signArchives UP-TO-DATE
:oreDeploy
Publishing ore-test-plugin to https://ore.spongepowered.org.
  Recommended: false
  Channel: release
[success] https://ore.spongepowered.org/TestOrg/Ore-Test-Plugin/versions/1.0.1

BUILD SUCCESSFUL

Total time: 1.833 secs
Trouble-Shooting
If you encounter issues with uploading the file try adding
buildscript {
   dependencies {
       classpath 'org.apache.httpcomponents:httpmime:4.5.6'
   }
}
to your build.gradle or contact use on irc or discord.